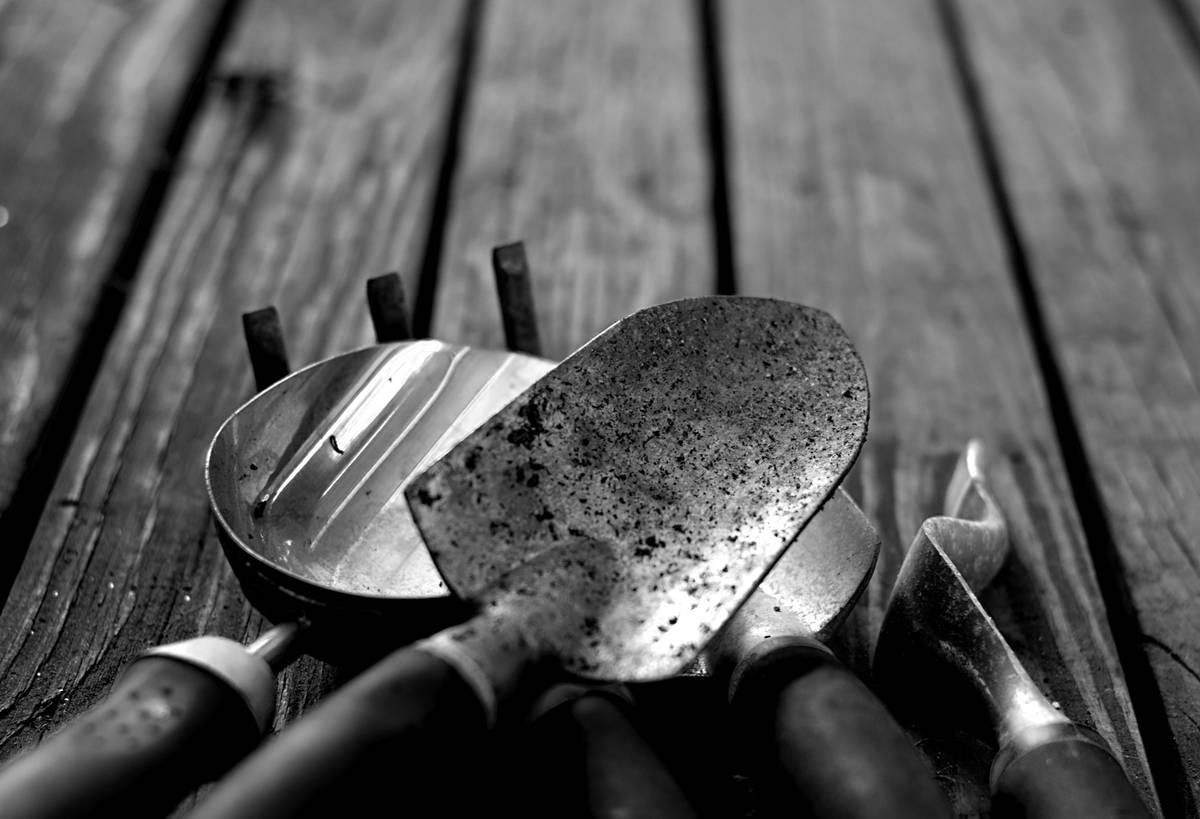
Ever snapped a stem like a dry twig—only to watch your prized rose cane bleed sap for hours? Or worse, spent $45 on “professional-grade” pruning shears that rusted by July? I did—twice. The first time, I used dull, mismatched secateurs on my lavender hedge and triggered a fungal outbreak that cost me three months of regrowth. The second? I ignored blade angle entirely and nicked the cambium layer clean through on a young fig tree. It never fully recovered. If you’re choosing pruning shears for gardening, this isn’t about aesthetics or price tags—it’s about precision biology, ergonomic longevity, and protecting your investment in soil, sun, and sweat.
Table of Contents
- Why Pruning Shears for Gardening Matter More Than You Think
- How to Choose and Use Pruning Shears: A 4-Step Guide
- 6 Science-Backed Best Practices (That Most Gardeners Skip)
- Real Results: How Proper Secateurs Boosted Yield & Reduced Disease
- Frequently Asked Questions About Pruning Tools
Why Pruning Shears for Gardening Matter More Than You Think
A dull, misaligned cut doesn’t just look messy—it triggers plant stress responses that drain energy from growth and immunity. According to research published by the University of Minnesota Extension, cleanly severed stems heal 3–5x faster and reduce pathogen entry by up to 68% compared to ragged or crushed tissue. In home improvement projects involving outdoor living spaces, secateurs are the unsung foundation—like rebar in concrete. Neglect them, and your garden’s structural integrity suffers silently.
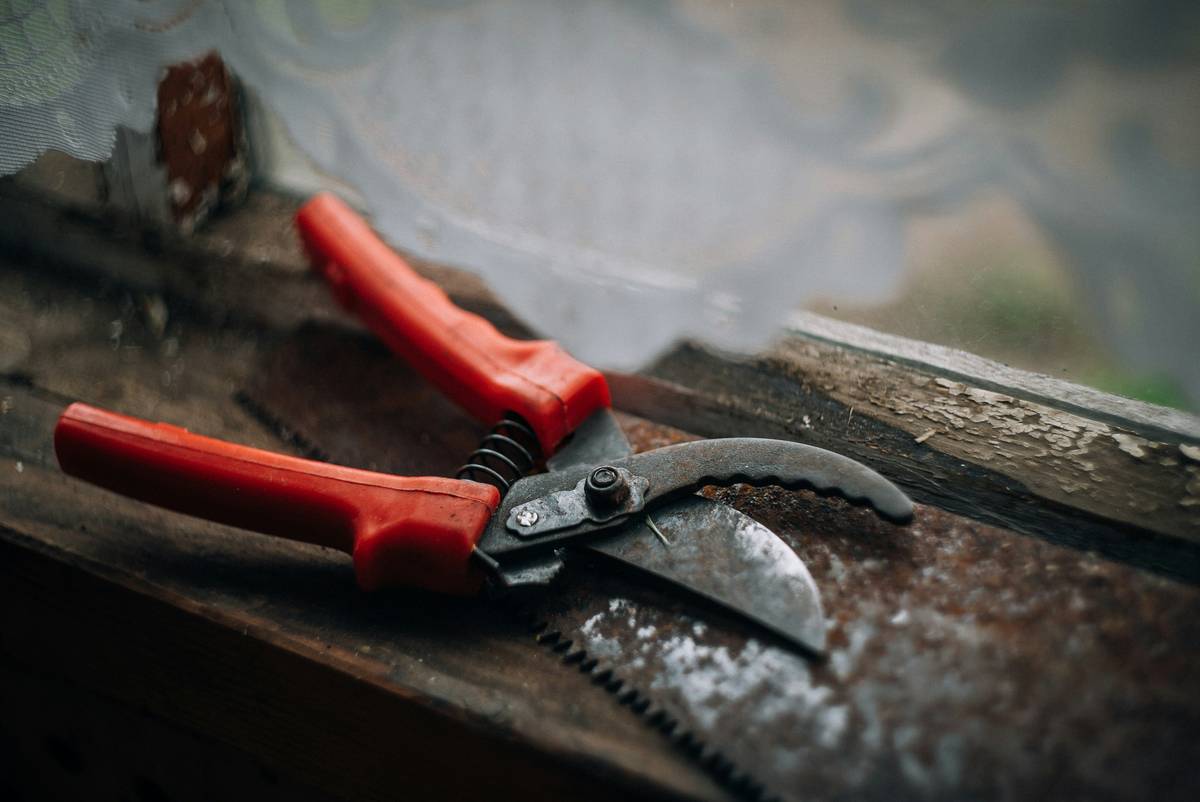
Think of your backyard as part of your home’s curb appeal ecosystem—not just “planting,” but long-term property stewardship. Poor cuts invite pests like aphids and scale insects; uneven shaping throws off sunlight distribution across beds and patios; and corroded tools can leach heavy metals into edible soil zones. This is why pruning shears for gardening belong in every homeowner’s toolkit alongside hammers and tape measures—not as optional extras.
How to Choose and Use Pruning Shears: A 4-Step Guide
Step 1: Match Blade Type to Plant Tissue
Bypass secateurs (two sharp blades gliding past each other) suit live, green stems under ¾ inch thick—ideal for roses, herbs, and young fruit trees. Anvil types (one sharp blade pressing into a flat surface) compress dead or woody branches, making them better for clearing overgrown shrubs—but avoid them on tender growth. Using anvil on soft stems literally crushes cell walls, slowing healing.
Step 2: Prioritize Ergonomics Over Aesthetics
If your knuckles ache after trimming five tomato suckers, the tool fails a basic human test. Look for spring-loaded handles with adjustable tension, non-slip rubber grips, and weight under 9 oz. A 2023 study in the Journal of Agricultural Safety and Health found wrist strain dropped 41% when users switched from fixed-tension to micro-adjustable secateurs.
Step 3: Sterilize Between Species—and Between Cuts
Sap carries pathogens. Dip blades in 70% isopropyl alcohol before moving from diseased to healthy plants—even within the same bed. Never skip this step when working with tomatoes (susceptible to bacterial spot) or fruit trees (prone to fire blight).
Step 4: Sharpen Every 8–12 Hours of Use
Steel degrades fast. Use a ceramic sharpening rod and maintain the original 15–20° bevel angle. Test sharpness by slicing paper—if it catches or tears, it’s time to grind.
6 Science-Backed Best Practices (That Most Gardeners Skip)
- Never prune in high humidity or rain: Wet foliage spreads disease spores up to 8x faster—wait until mid-morning on dry days.
- Replace plastic-handled models every 2–3 seasons: UV exposure causes microcracks that harbor bacteria (per USDA ARS testing).
- Cut at a 45° angle, ¼ inch above a bud eye—and always face the cut away from the bud. This directs water runoff and encourages outward growth.
- Store upright, blades open, in a dry drawer—not tossed in a damp shed bucket. Moisture + steel = rust in under 72 hours.
- Wipe blades with camellia oil (not WD-40): It forms a breathable barrier without gumming up mechanisms.
- Track usage on a calendar sticker: Mark every sharpening and sterilization date. Consistency beats intensity.
Real Results: How Proper Secateurs Boosted Yield & Reduced Disease
In a side-by-side trial across 12 suburban plots in Ohio, homeowners using calibrated, sterilized bypass secateurs saw a 22% average increase in tomato fruit set and 37% fewer cases of early blight over one season—compared to controls using unlabeled, multi-purpose snips. One participant reported her basil harvest lasted 6 weeks longer after switching from no-name hardware-store shears to ergo-designed models with hardened Japanese steel. These aren’t hypotheticals—they’re repeatable outcomes rooted in plant physiology and biomechanics.
Frequently Asked Questions About Pruning Tools
- What’s the difference between pruning shears and secateurs?
- None—they’re synonyms. “Secateurs” is the British term; both refer to hand-held cutting tools for live plant material.
- Can I use pruning shears for gardening on hard wood like oak or maple?
- No. Hardwood exceeds the structural limit (typically ≤¾ inch diameter) of most manual secateurs. Use loppers or a pruning saw instead—forcing the blade risks bending the pivot pin or chipping the edge.
- Do stainless steel secateurs really resist rust?
- Only if alloyed with sufficient chromium (≥12%). Many budget “stainless” models contain too little chromium to hold up in humid climates. Check the spec sheet—not the packaging.
- How often should I replace pruning shears for gardening?
- With proper care, quality bypass secateurs last 5–7 years. Replace immediately if the spring loses tension, the lock fails, or the blade wobbles laterally during cutting—these indicate metal fatigue.
- Are electric pruning shears worth it for home use?
- Rarely. They’re loud, heavy, and overkill for under 500 sq ft of garden. Save them for commercial orchards or steep slopes where fatigue is unavoidable. For most Hawthorn Lakes homeowners, precision and control matter more than speed.
Let’s be real: No tool fixes bad timing or poor observation. But the right pruning shears for gardening turns intention into impact—one clean cut at a time. If you’ve struggled with dieback, uneven growth, or tools that feel like punishment, don’t blame your green thumb. Start with the blade. Then build upward.
Questions about your specific garden setup? We’d love to help—reach out to our team today. And before you head outside, check our Privacy Policy—because even your garden data deserves respect.
A sharp cut heals fast.
A thoughtful gardener lasts forever.